
Last updated November 15, 2026
 Whole-home duct cleaning
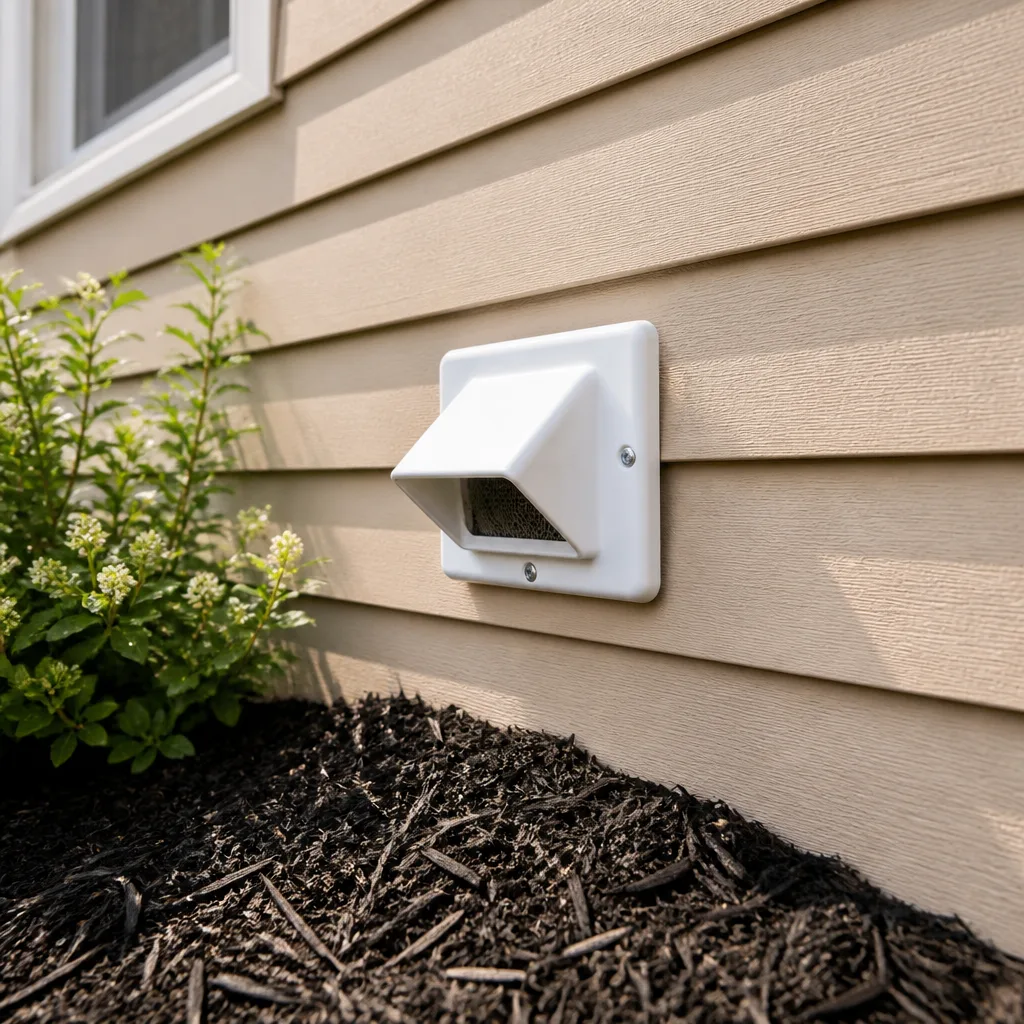 Dryer vent cleaning
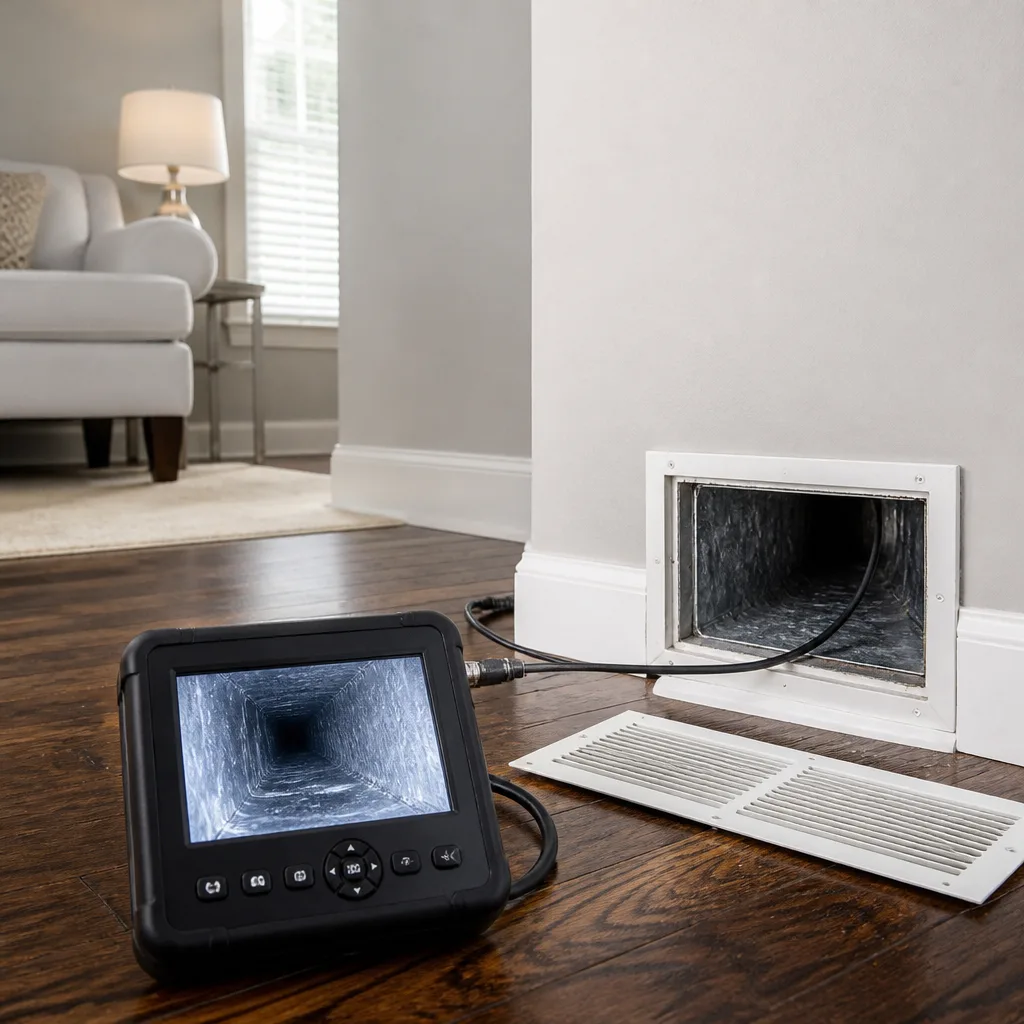 Camera inspection
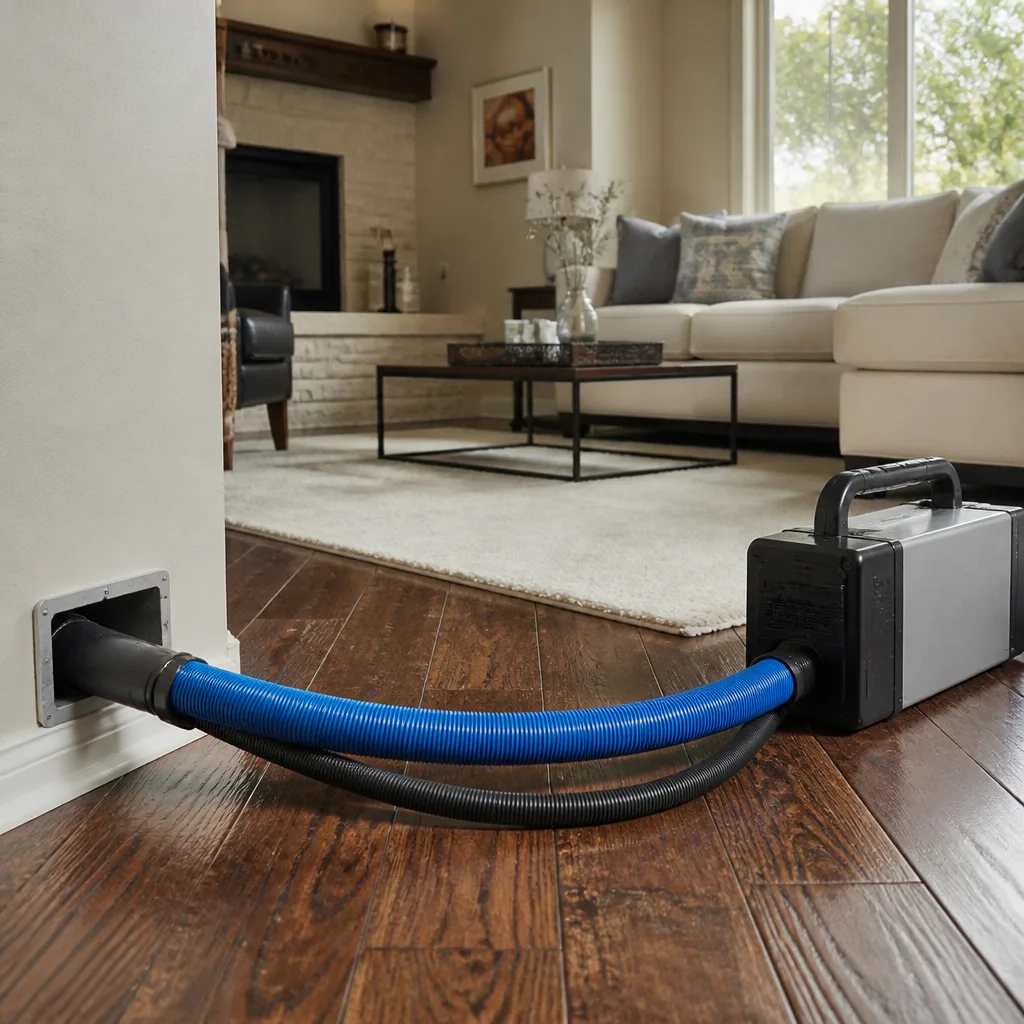 Sanitizing & deodorizing
Whole-system duct and dryer vent check with before-and-after photos - you see exactly what came out of your vents
That "$99 whole-house special" is a bait ad - the real number appears once they are in your hallway, or the "clean" is a shop-vac at the register. We photograph the inside of your ducts before and after instead.
Air Duct Cleaning Maintenance Checklist for Lakewood Homeowners
Most duct cleaning checklists tell you to change your filter every 90 days. That’s fine advice, but it ignores the six other things happening inside your ductwork that a filter can’t tell you about. A filter catches what passes through it. It says nothing about a flex duct that’s pulled loose in the crawlspace, a register that’s whistling because a run collapsed, or the fine gray film on a return grille that hints at a leak pulling attic air into the system. This guide is a working checklist, not a pamphlet. You’ll get a quarterly airflow observation routine you can run without any tools, the specific visual signals that point to internal duct problems, and a log template that turns scattered observations into useful history for a technician. We’re writing it for homes in Lakewood, where freeze-thaw cycles do real work on duct connections most homeowners never see.
Styles & brands we work with
- Whole-home duct cleaning
- Dryer vent cleaning
- Camera inspection
- Sanitizing & deodorizing
Quick Answer
A ductwork maintenance checklist for a Lakewood home has four jobs: quarterly room-by-room airflow checks at every register, visual inspection of return grilles and accessible duct runs, filter changes based on measured condition rather than a fixed calendar, and a documented log you keep between service calls. Schedule a professional cleaning when the log shows changes that repeat, and have any work done before summer cooling season and after the spring thaw.
Table of Contents
- Why a Filter Change Is Not a Maintenance Plan
- The Quarterly Room-by-Room Airflow Routine
- What to Look For at Registers and Return Grilles
- Freeze-Thaw Cycles and Crawlspace Duct Connections
- Filter Selection: Why Denser Is Not Automatically Better
- Building a Ductwork Log That a Technician Can Use
- Seasonal Timing: When to Schedule Inspections in Lakewood
- How Often Does Ductwork Actually Need Cleaning?
Why a Filter Change Is Not a Maintenance Plan
A filter is a single component at one point in the system. Ductwork is the rest of it: supply runs, return trunks, boots, collars, plenums, dampers, and every joint where two of those meet. Dust control is only part of what a checklist should cover. The bigger value is early detection. A duct system rarely fails all at once. It drifts. A run that delivered strong air in October delivers weak air by March, and nobody notices because the change happened over weeks.
That drift is what a structured observation routine catches. Airflow imbalance, pest intrusion, and connection failures all announce themselves well before they become expensive. A register that suddenly blows warm air during cooling season. A fine gray dust pattern on the ceiling around a ceiling diffuser, which usually means air is escaping at the boot rather than entering the room. A return grille that collects dust far faster than the others.
Lakewood homes add another variable. The local climate runs cold winters and dry summers, and the temperature swing between seasons puts repeated stress on duct connections. Metal expands and contracts. Flex duct shifts. Tape dries out and lets go. None of that shows up on a filter.
What follows is a checklist you can run yourself, plus the specific points where a technician with professional-grade equipment does things a homeowner cannot. If you want the shorter version of what the full service covers, our Lakewood Duct Cleaning page lays out the scope.
The Quarterly Room-by-Room Airflow Routine
This routine takes about fifteen minutes per floor and needs no equipment beyond your hand and a sheet of paper. Run it once per season, ideally on a day when the system has been running for at least twenty minutes so everything is at operating temperature.
- Walk the house with the system running. Start at the register closest to the furnace or air handler and work outward. Note which rooms feel strong and which feel weak before you test anything. First impressions reveal the pattern.
- Test each supply register with the back of your hand. Hold your hand about six inches from the grille for five seconds. You’re judging two things: force and temperature. Write down a simple rating for each: strong, moderate, or weak.
- Test each return grille. Returns should pull noticeably. A return that feels weak or passive is the most common cause of a house that stays stuffy even when the supply side seems fine.
- Listen for changes in sound. A whistle, a rattle, or a whoosh that wasn’t there last quarter points to a damper that moved, a run that came loose, or debris sitting against the register boot.
- Close interior doors and repeat two rooms. Rooms that go weak only when doors are shut are telling you the return path is undersized, not that the ducts are dirty.
- Record the date and the readings. Comparison over time is where the real value lives. One weak register means little. The same register weakening two quarters in a row is a pattern.
If your system is built on a Honeywell or Aprilaire platform with zone dampers, add one step: check each zone’s behavior independently by running the system on one zone at a time. Zone damper failures look exactly like duct failures from inside a room.
Year over year, this routine gives you something almost no homeowner has: a baseline. When you hand a technician a log showing that the west bedrooms have lost airflow steadily since last spring, the diagnosis starts two steps ahead.
What to Look For at Registers and Return Grilles
Dust on a grille is the obvious signal, and it’s the least useful one on its own. Every grille collects dust. The informative signals are the ones that show a change in pattern, color, or location. Here’s what to look for beyond the dust itself.
- Dust concentrated on one side of a grille. Uneven buildup usually means uneven airflow through that register, often from a partially collapsed flex run behind it.
- Gray or dark streaking on the wall or ceiling around a diffuser. Air is escaping at the boot or the drywall seal rather than entering the room. That air carries dust and it stains over time.
- Rust or water staining on a metal grille. In Lakewood, condensation on cold duct surfaces during cooling season is the usual cause. Rust on a grille points to moisture in the run.
- Fine fibrous debris caught in the grille fins. Fiberglass strands mean the interior liner of a duct section is breaking down. That’s a repair issue, not a cleaning issue.
- Pest evidence. Small droppings, nesting material, or a musty animal smell near a return grille points to rodents or insects entering through an open duct joint, typically in the attic or crawlspace where connections are least visible.
- Filter bypass dust. A band of dust on the grille directly around the filter slot means air is going around the filter instead of through it. The filter isn’t the problem; the fit is.
- Black specks or soot on a return. Rare, but when it appears near a system that shares space with a combustion appliance, stop and get it looked at.
Note which rooms show which patterns. A single register with debris means that run. The same debris pattern at six registers across multiple rooms means the problem is at the trunk or the air handler.
Freeze-Thaw Cycles and Crawlspace Duct Connections
Crawlspace and attic ductwork in Lakewood lives through a real annual swing. Winter cold, spring thaw, dry summer, then cold again. Each cycle moves materials slightly, and each joint in the system takes that movement. The joints that fail first are almost always flex duct connections: the plastic collar where flex meets a metal boot or plenum, secured with tape and sometimes a zip tie.
What the seasonal shift does to those connections:
- Tape adhesive loses grip. The fabric or foil tape used at flex collars dries out over repeated temperature swings and eventually releases along one edge. The duct still looks connected from a distance.
- Flex duct sags. A run that was supported properly in fall can sag through the winter as the structure around it shifts. Sagging creates a low point where condensation collects and airflow drops.
- Metal collars loosen on boots. The crimp fitting that holds a collar to a boot expands at a different rate than the flex around it. Repeated cycles open a gap at the seam.
- Insulation jacket separates from the inner liner. On insulated flex, the outer jacket can pull away from the inner core. The duct still carries air, but it now loses heat or gains it along the run.
You can spot the visible results of this in accessible spaces. In a crawlspace or attic, look for detached tape flapping at a collar, a run drooping between supports, or a jacket that has pulled back to expose the inner duct. In the living space, the giveaway is a room that heats unevenly and got worse after the first cold snap.
The two best inspection windows in Lakewood are late spring, after the thaw has finished and before cooling season runs hard, and early fall, before the first sustained freeze. A technician checking connections before those transitions catches an open collar while it’s still a tape-and-collar fix rather than a full run replacement.
Where a Professional Inspection Goes Further
A visual check from the crawlspace hatch only reaches the first ten feet. Professional inspection uses rotary brush systems and HEPA-filtered vacuums that work the full length of a run. Our technicians use Rotobrush rotary equipment to dislodge material from duct walls and Nikro HEPA vacuums to capture it at the source rather than blowing it into the room. On the repair side, a loose collar, a torn flex run, or a separated boot can be corrected during the same visit rather than referred elsewhere. If your accessible runs show any of the signals above, that’s the moment to book an inspection rather than wait for the room to go cold.
Filter Selection: Why Denser Is Not Automatically Better
Filter marketing pushes MERV ratings as if higher is always better. In a tight, well-sealed duct system, a higher MERV filter is a reasonable choice. In a system with leaking joints, it backfires. Here’s the mechanism.
A denser filter creates more resistance to airflow. A duct system with leaks in the return side will pull air from wherever is easiest, and the path of least resistance is often the crawlspace or attic rather than through the filter. So the denser filter gets bypassed at the leaks, the system pulls in unconditioned and dusty air, and static pressure rises at the same time. You get less airflow through the house and more contaminants entering it. The filter upgrade made things worse.
Filter selection should follow duct condition, in this order:
- Confirm the system is sealed before upgrading filtration. Look for dust streaks at the filter slot, at plenum seams, and at return collars. Any of those means fix the seal first.
- Match the filter to the equipment’s rated static pressure. Your air handler has a specification. A filter that pushes static pressure past it costs you airflow in every room.
- Choose a MERV rating that balances capture with resistance. A mid-range pleated filter is usually the right call for a typical residential system. Going to the densest filter available rarely delivers the air quality gain it promises in a system with any leakage.
- Check the filter monthly for the first three months after any change. How fast it loads tells you what’s actually in the airstream. A filter that darkens in three weeks is reporting a duct problem, not a filter problem.
- Record the change date and the filter model in your log. This is the single most useful item a technician can see when diagnosing airflow complaints.
If your system runs a Honeywell or Aprilaire media cabinet, stick with filters sized for that cabinet rather than forcing a different size to fit. A filter that doesn’t seal to the frame is bypassing, no matter what its rating says.
Building a Ductwork Log That a Technician Can Use
Most homeowners who keep any record keep a stack of filter receipts. That tells a technician almost nothing. A useful log captures the same observations on the same dates so changes stand out. It doesn’t need to be elaborate. A notebook or a spreadsheet with consistent columns works fine.
Record these fields for each quarterly check:
- Date and season. Spring, summer, fall, winter. This matters because duct behavior changes with the season, and it lets a technician compare like with like.
- Outdoor conditions that week. Rough note is enough: first hard freeze, thaw week, heat wave. Connections respond to these.
- Per-register airflow rating. Strong, moderate, or weak, for every supply register in the house.
- Per-return pull rating. Same scale.
- Noise notes. Any whistle, rattle, or whoosh, with the room and register location.
- Visual findings. Dust patterns, staining, debris type, pest evidence, filter bypass dust, each tied to a specific location.
- Filter change date and model. Include the MERV rating.
- Anything you changed. Filters, damper positions, furniture blocking a return, closing a register.
Two habits make the log genuinely useful. First, photograph your registers and returns at each check, from the same angle each time. Side-by-side photos from six months apart reveal buildup patterns that are impossible to judge in person. Second, keep the log in one place and bring it out when you call. A technician who can read six months of consistent readings will diagnose faster than one starting from zero.
When the log shows a trend rather than an isolated reading, that’s the trigger for professional service. A single weak register can be a closed damper. The same register weakening for two quarters in a row is a duct problem.
Seasonal Timing: When to Schedule Inspections in Lakewood
Timing matters more here than in milder climates because the transitions are sharp. There are two windows worth planning around, and one service that deserves its own schedule.
Late Spring: After the Thaw
Once the ground has finished thawing and the last cold nights are behind you, crawlspace and attic connections have taken their full winter movement. This is the right moment to check collars, tape, and flex support before cooling season puts the system under load. An inspection in late spring catches a separated collar while it’s still a minor repair.
Early Fall: Before the First Sustained Freeze
A fall check confirms everything is tight heading into the cold season. It’s also when you’ll want to verify that heating runs are delivering evenly, since a heating complaint in January is harder to address than one you spotted in October.
Dryer Vent: A Separate, More Frequent Schedule
Dryer vent cleaning is the one item on this list that isn’t primarily about comfort. Lint accumulation in the vent line is a leading cause of residential fires, and it builds faster than most homeowners expect. A dryer that runs hot, takes longer than it used to, or leaves clothes damp at the end of a cycle is telling you the vent is restricted. Treat that as a maintenance trigger, not an inconvenience to live with. Our dryer vent cleaning page covers the warning signs and what the service involves.
Air Duct Cleaning: After Major Events, Not Just on a Calendar
Duct cleaning isn’t a fixed-interval service for most homes. The triggers are events: a renovation that generated dust, a new HVAC installation, a home purchase where you don’t know the system’s history, water intrusion, or pest activity. If any of those have happened, that’s your schedule.
How Often Does Ductwork Actually Need Cleaning?
There’s no universal number, and any company quoting one without looking at your system is guessing. What you can do is watch for the conditions that make cleaning worthwhile rather than waiting for a calendar date.
- Visible debris inside accessible runs. If you can see buildup on the duct walls in a crawlspace or attic, it’s beyond what a filter manages.
- Consistent dust on surfaces after cleaning. If you clean a room and it’s dusty again within a few days, the source may be the system.
- Airflow that has measurably declined in your log. Two consecutive quarters of weakening at the same registers.
- Recent renovation or construction. Drywall dust travels deep into a system and settles on duct walls where it stays.
- A new home or one with unknown history. Most buyers have no record of the previous owner’s maintenance.
- Pest activity or odor. Musty smells or droppings near a return grille indicate contamination that routine cleaning won’t address.
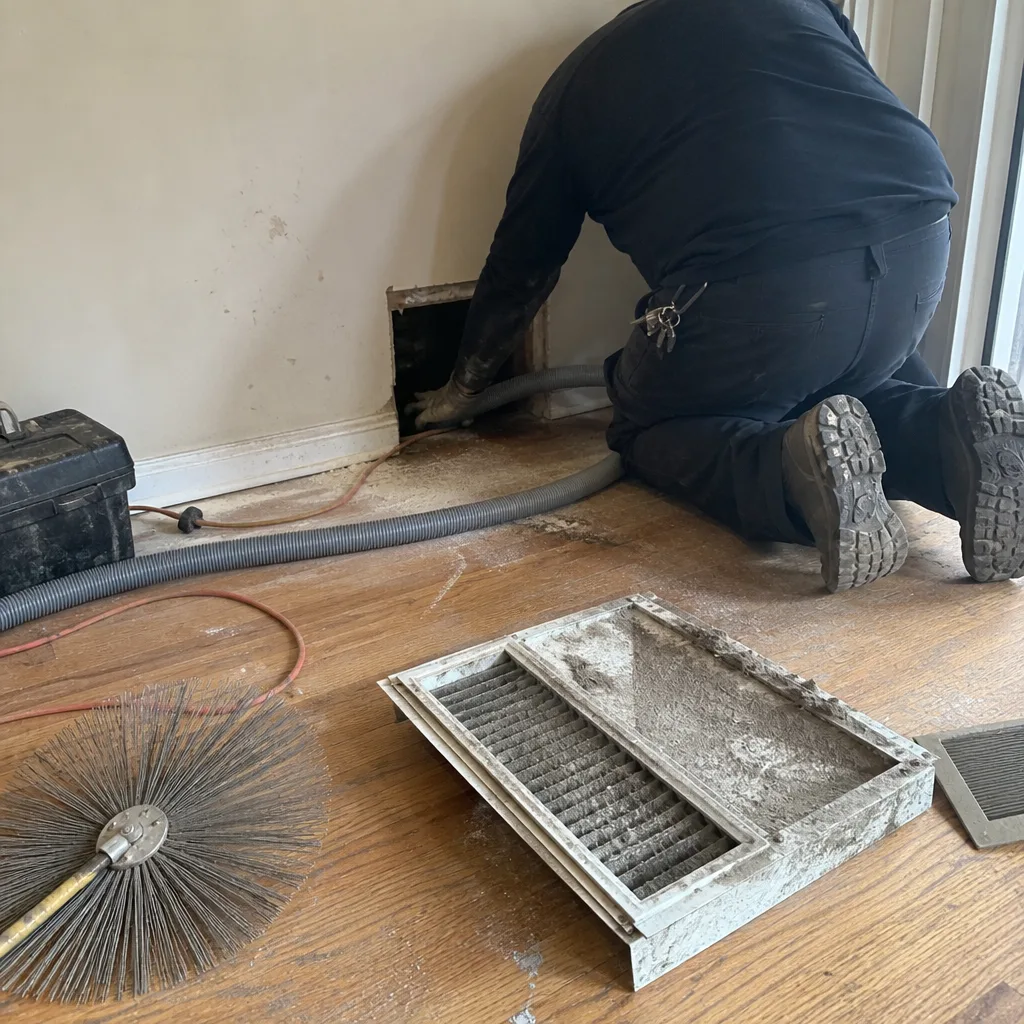
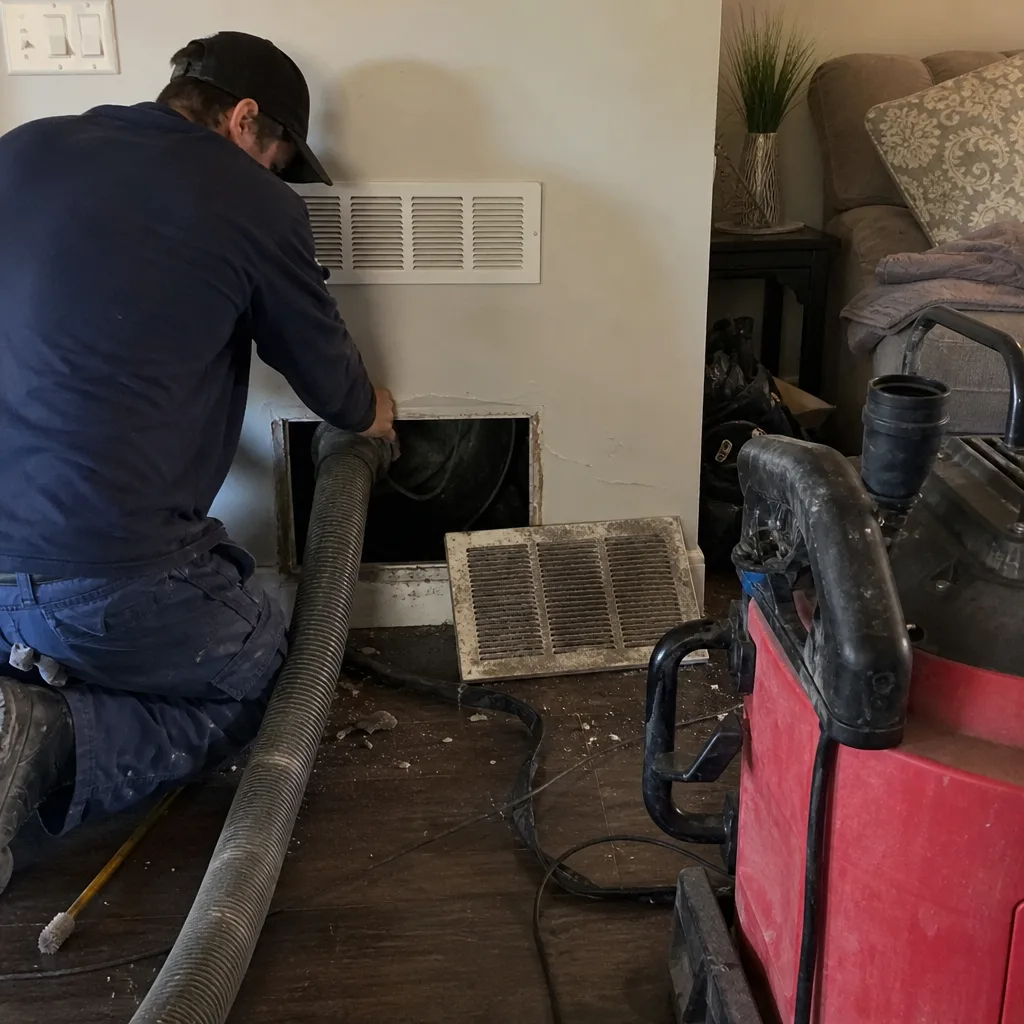
When a technician inspects, the work should be transparent. In our experience, homeowners want to see what’s inside before and after rather than take a verbal report. Ask for before-and-after photos of your own ducts, and ask how the system’s condition compares to what’s typical. Any honest inspection opens the system and shows you.
The full scope of professional cleaning, including what the equipment does differently from a consumer vacuum, is on our air duct cleaning page.
Common Mistakes to Avoid
- Relying on a filter calendar instead of observations. A 90-day rule of thumb ignores the six variables a filter can’t detect. Use a seasonal routine instead.
- Upgrading to the densest filter without checking duct seals. A high-MERV filter in a leaky system raises static pressure and pulls in more outside air. Seal first, then filter.
- Ignoring a dryer that runs hot. Lint in the vent line builds steadily and the warning signs are easy to dismiss. Treat heat and long dry times as a maintenance issue now, not later.
- Skipping the crawlspace and attic. In Lakewood, the connections most likely to fail are the ones you never see. A fall and spring walkthrough of accessible runs catches them.
- Judging airflow by feel on one day. The value of the quarterly routine is comparison over time. One reading means little.
- Accepting a verbal report with no documentation. Ask for photos of your own system before and after work, and keep your own log so you can verify changes later.
- Choosing a service based on a coupon price alone. A posted figure that rises once the technician is on site is the industry’s most common complaint. Ask for the scope and the price structure before anyone arrives.
When to Call a Professional
Call when your log shows a repeated trend rather than a single weak reading. Call when you find visible debris, fiberglass breakdown, or pest evidence in an accessible run. Call when a register shows moisture staining or rust, which points to a duct problem cleaning won’t fix. Call when your dryer runs hot or takes longer than it used to. And call when the system’s history is unknown, such as after a move into a new home.
Lakewood Duct Cleaning offers free estimates in Lakewood. We run professional-grade equipment rather than consumer tools, so an inspection shows you the actual condition of your system with before-and-after photos. And we clean it. If something’s broken, we repair it on the same visit. Call (844) 914-0778 for a free estimate.
Frequently Asked Questions
Check it monthly for the first three months after any change, then set a schedule based on how fast it loads. A filter that darkens in three weeks is telling you more about your ducts than about your filter. Location in the house matters, and so does whether you run the system year-round.
Debris inside accessible runs, repeated quarterly declines in airflow at the same registers, and pest evidence all point to service. If a flex run is torn, a collar is loose, or a boot has separated, that’s repair, not cleaning. One visit can address both, which saves you a second appointment and a repeat diagnosis.
Whole-system pricing depends on the number of runs, the system’s layout, and what’s found during inspection. Beware of any quote based on a per-vent price or a coupon figure that changes on site. Ask for the scope in writing before work starts, and for photos of your own ducts after. Call (844) 914-0778 for an exact quote on your system; estimates are free.
Low advertised prices often cover only a surface pass, with additional charges added once the technician is on site. The gap between the advertised figure and the final invoice is the most common complaint in this trade. Ask up front whether the price covers the full system and whether any repair work is included. Call (844) 914-0778 and we’ll walk through the scope before you commit.
Ask for before-and-after photos of your own ducts, and keep your quarterly log so you can compare airflow readings. Photos of your system, not stock images, are the honest measure. If a company hesitates to show you the inside of your own ductwork, that’s your answer.
Late spring, after the thaw, and early fall, before the first sustained freeze. Those are the transitions when crawlspace and attic connections see the most movement. A check before each one catches a loose collar or a sagging run while it’s still a small fix.
No. A quarterly routine is for catching change early, not for cleaning or repair. It tells you when to call, and it gives the technician useful history. The actual cleaning and any repair still need professional equipment and an experienced eye. Call (844) 914-0778 when your log shows a pattern; the estimate is free.
The Bottom Line
Ductwork maintenance in a Lakewood home is a routine of observation, not a calendar of filter changes. Run a quarterly room-by-room airflow check, look for the specific visual signals at registers and returns, inspect accessible runs after the thaw and before the first freeze, and pick a filter based on your system’s condition rather than its MERV rating. Keep a log with dates, ratings, and photos, because comparison over time is what turns scattered readings into a diagnosis. When the log shows a repeating trend, call. Lakewood Duct Cleaning works on Lakewood homes with professional equipment and can repair what we find. If you’d rather start with a conversation than a checklist, call (844) 914-0778. We answer 24/7. Fast dispatch from 7am to 7pm, Sunday through Friday.
Written by the team at Lakewood Duct Cleaning.
See the difference
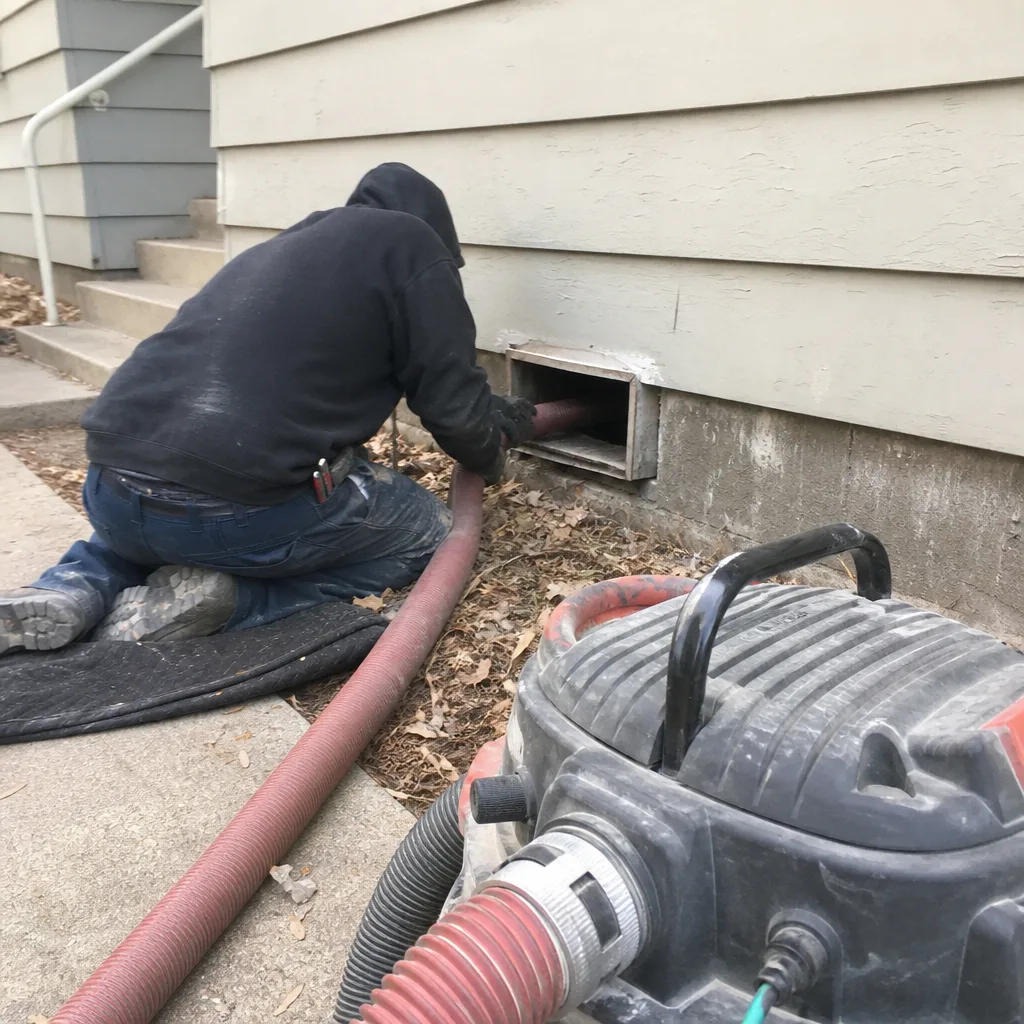 Before
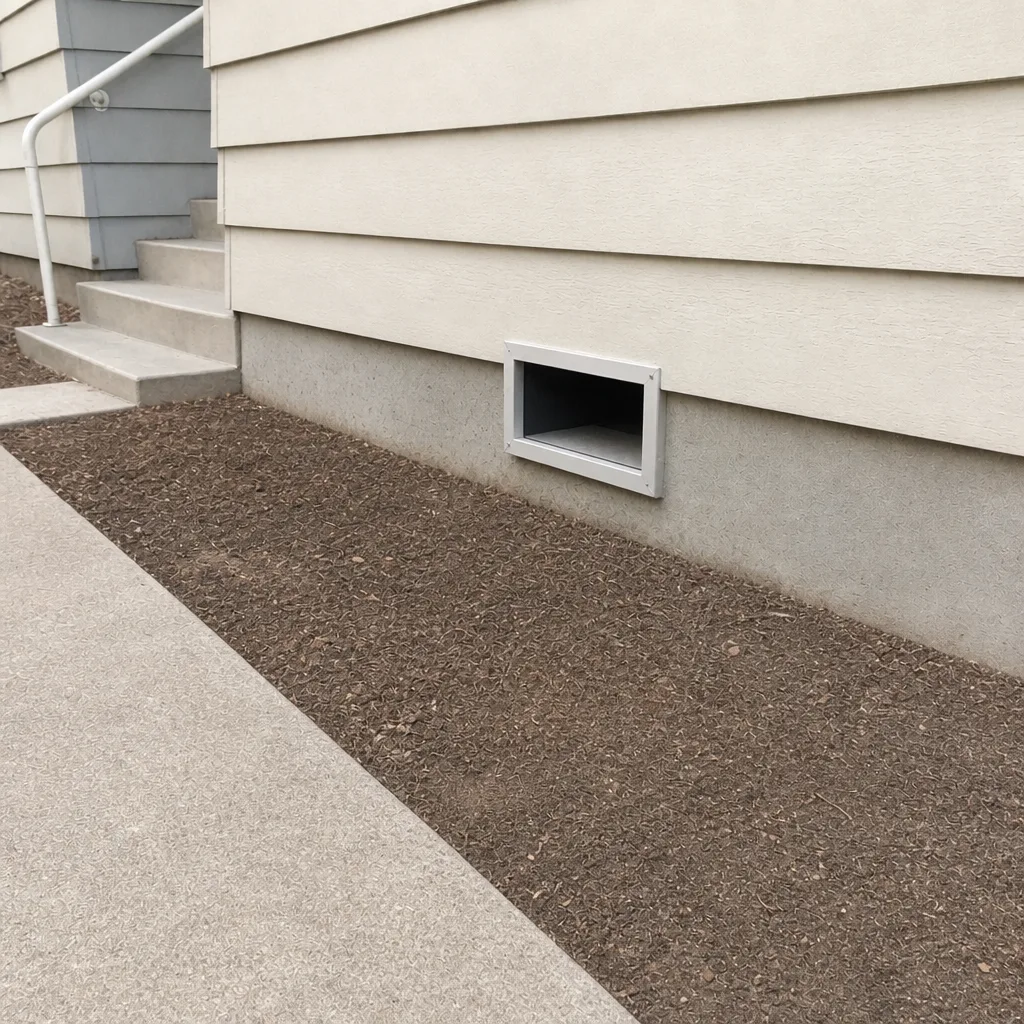 After
 Before
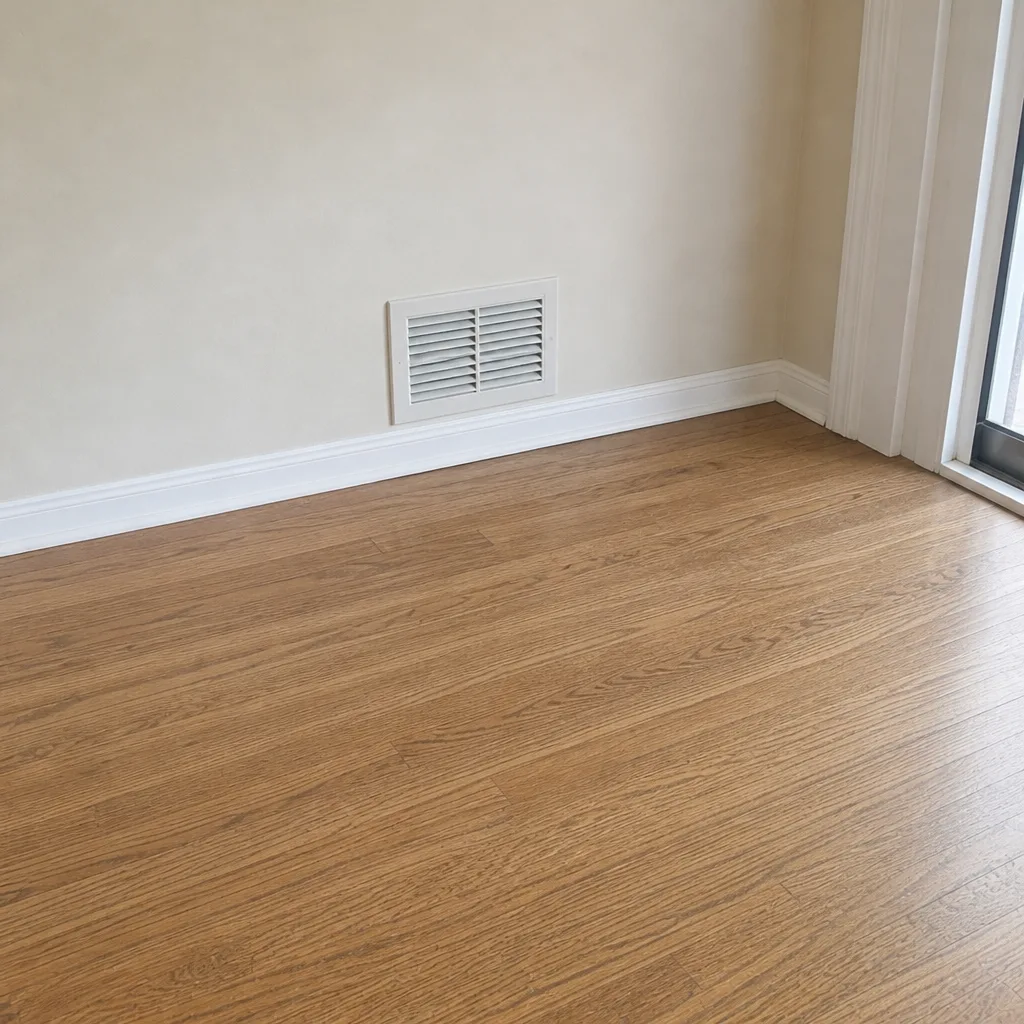 After
 Before
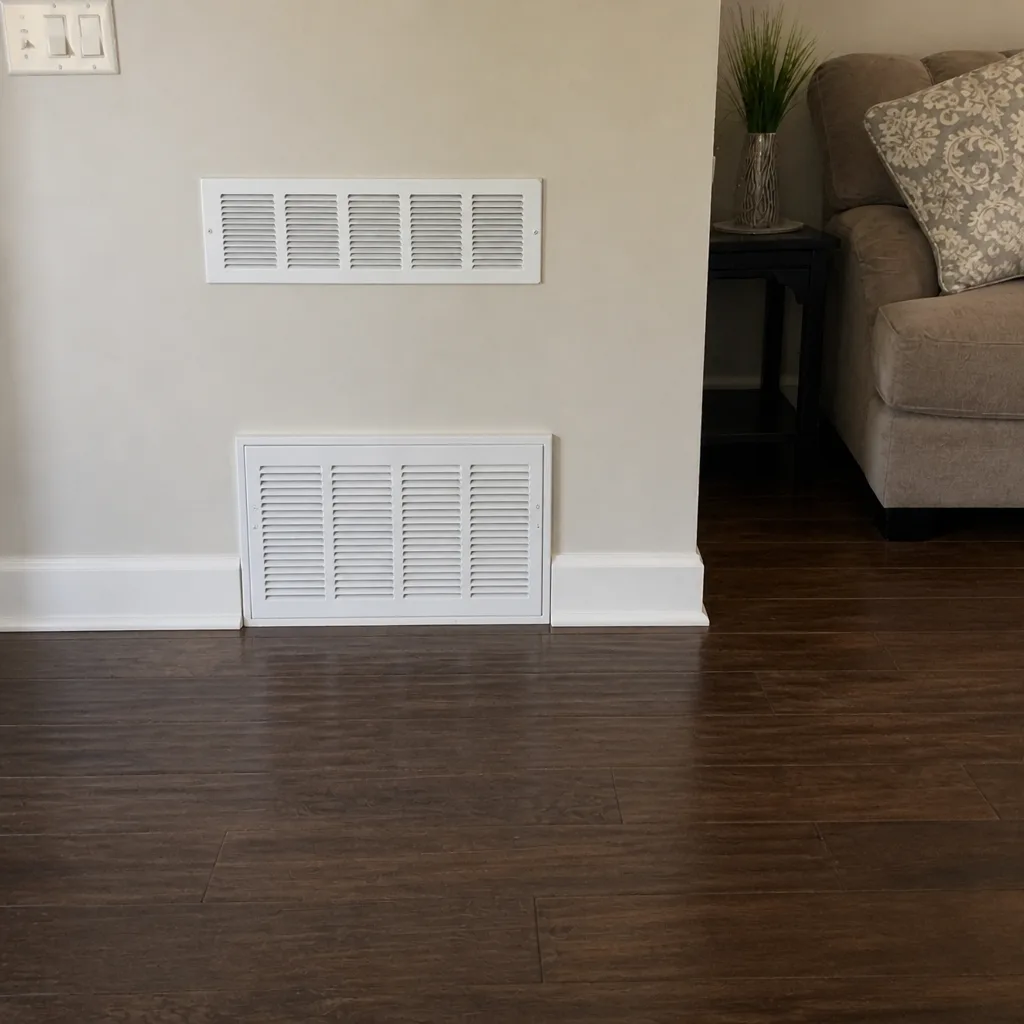 After